The Making of a Drinks Box
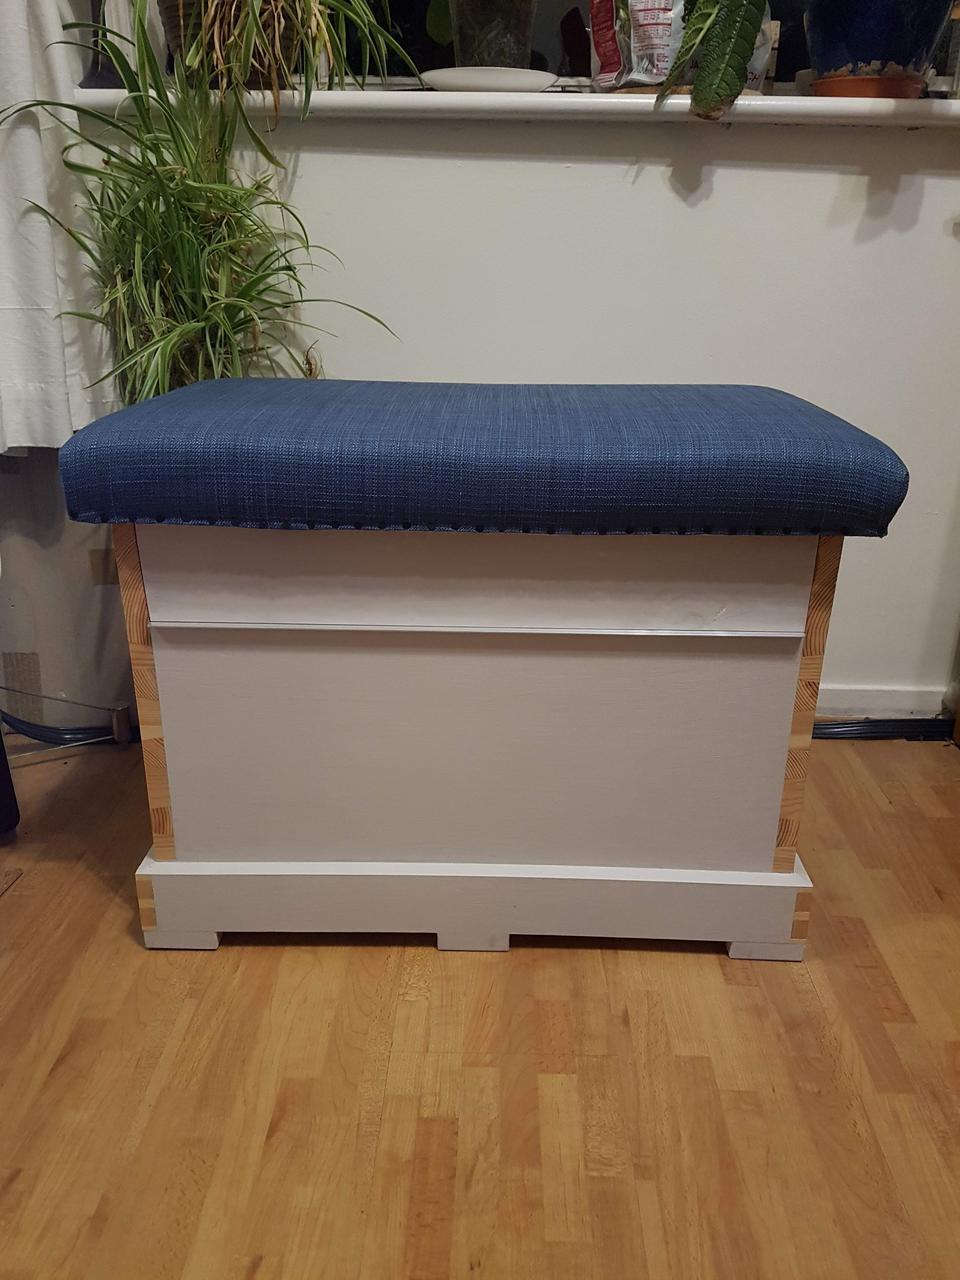
As a self respecting flat owner I felt the need to build my own drinks cabinet. I wanted somewhere I could keep some bottles but also sit on or use as a stool. I think in the end I managed it.
I started with the design that Paul Sellers used for his Joiner's toolbox video and adapted it for my design. Measured the tallest of my drinks bottles and the space I had.
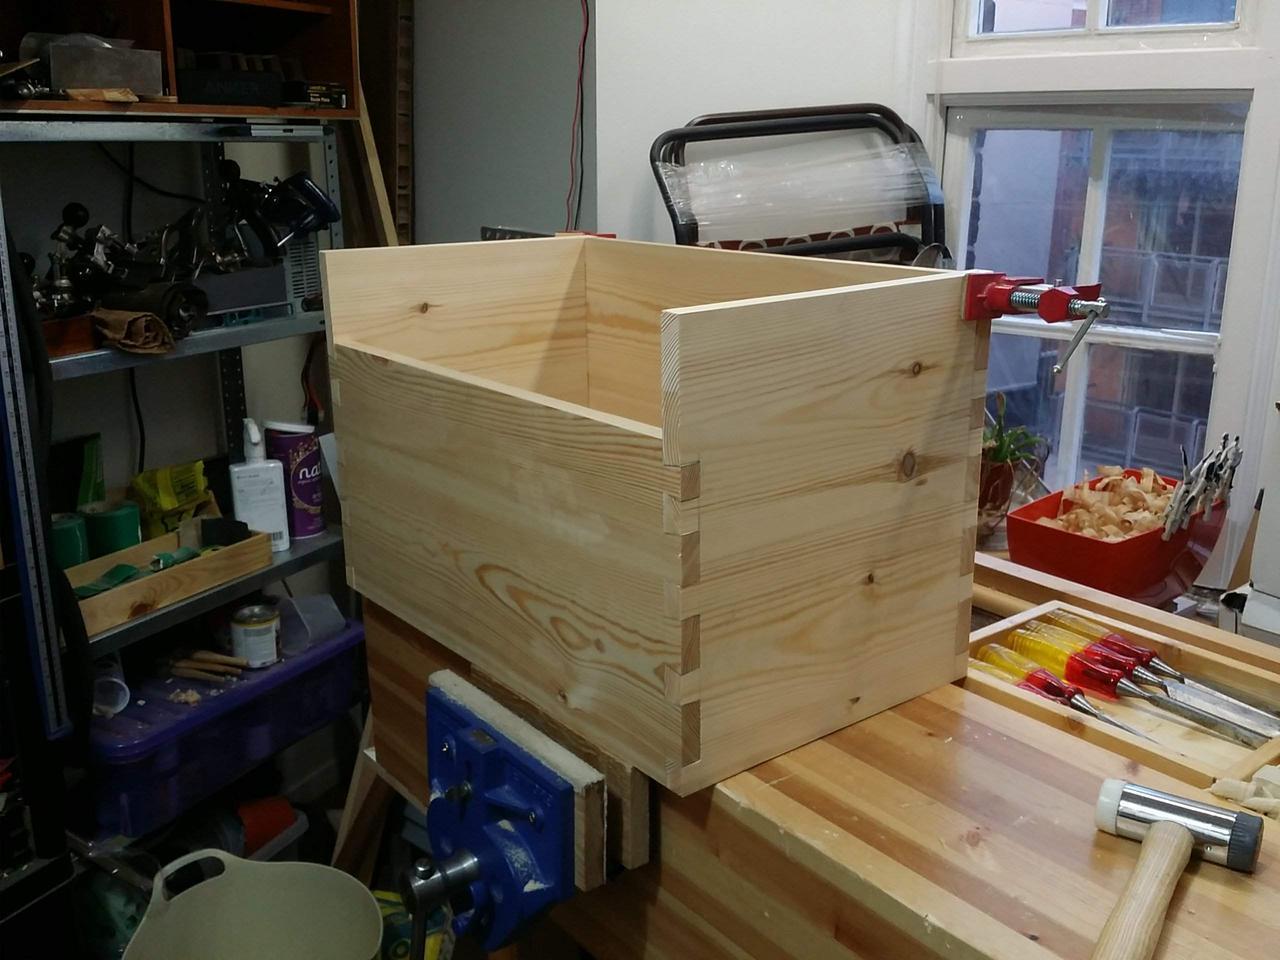
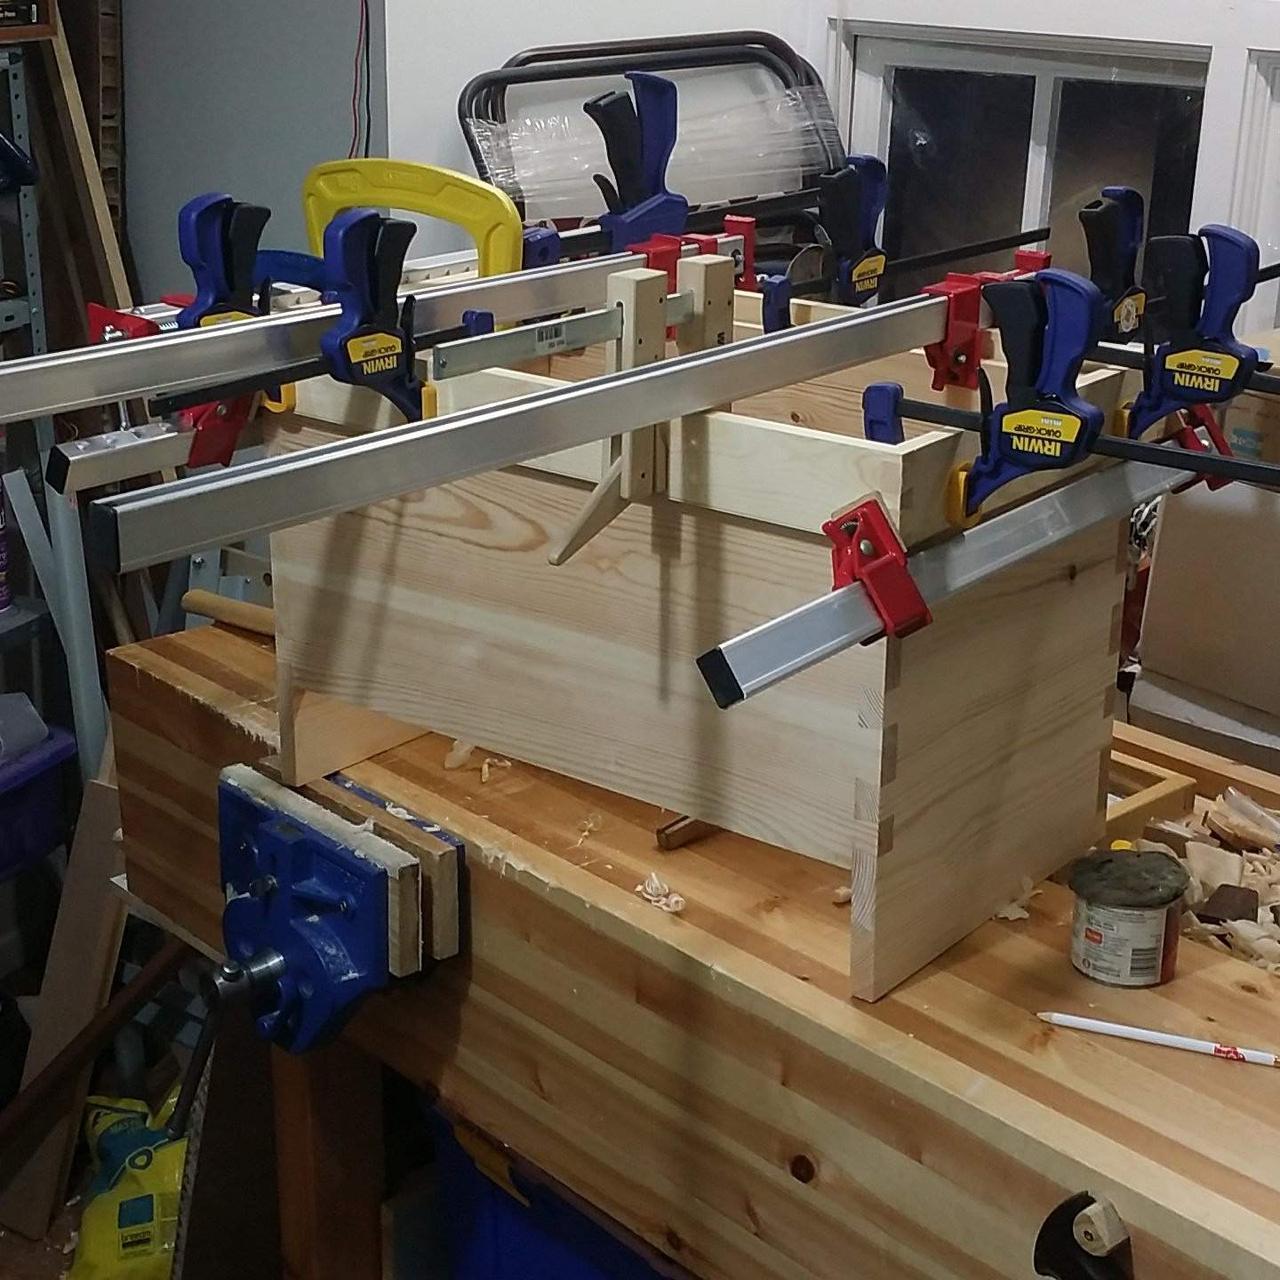
Step one, as always seems to be the case, was gluing up some panels. I decided to use pine again as it's cheap and I intended to use paint. Cutting the planks to length, gluing up the panels and planing things flat. Even at this seeming rough stage I am learning it's important to get things accurate. Later on I will be relying on that to make everything come together.
Then came some dovetails. I went quite large as not only are they easier to cut but also I would be painting over them so they would not show that much. I quite enjoy the dovetail making now. My saw technique is now up to average so most of the time they come out okay first time. A sharp chisel and a few carefully placed hammer blows and the waste is remove and a clean gap is formed. Most of my joints do have a more functional look to them right now. Maybe I'll do some soon with a tighter pattern.
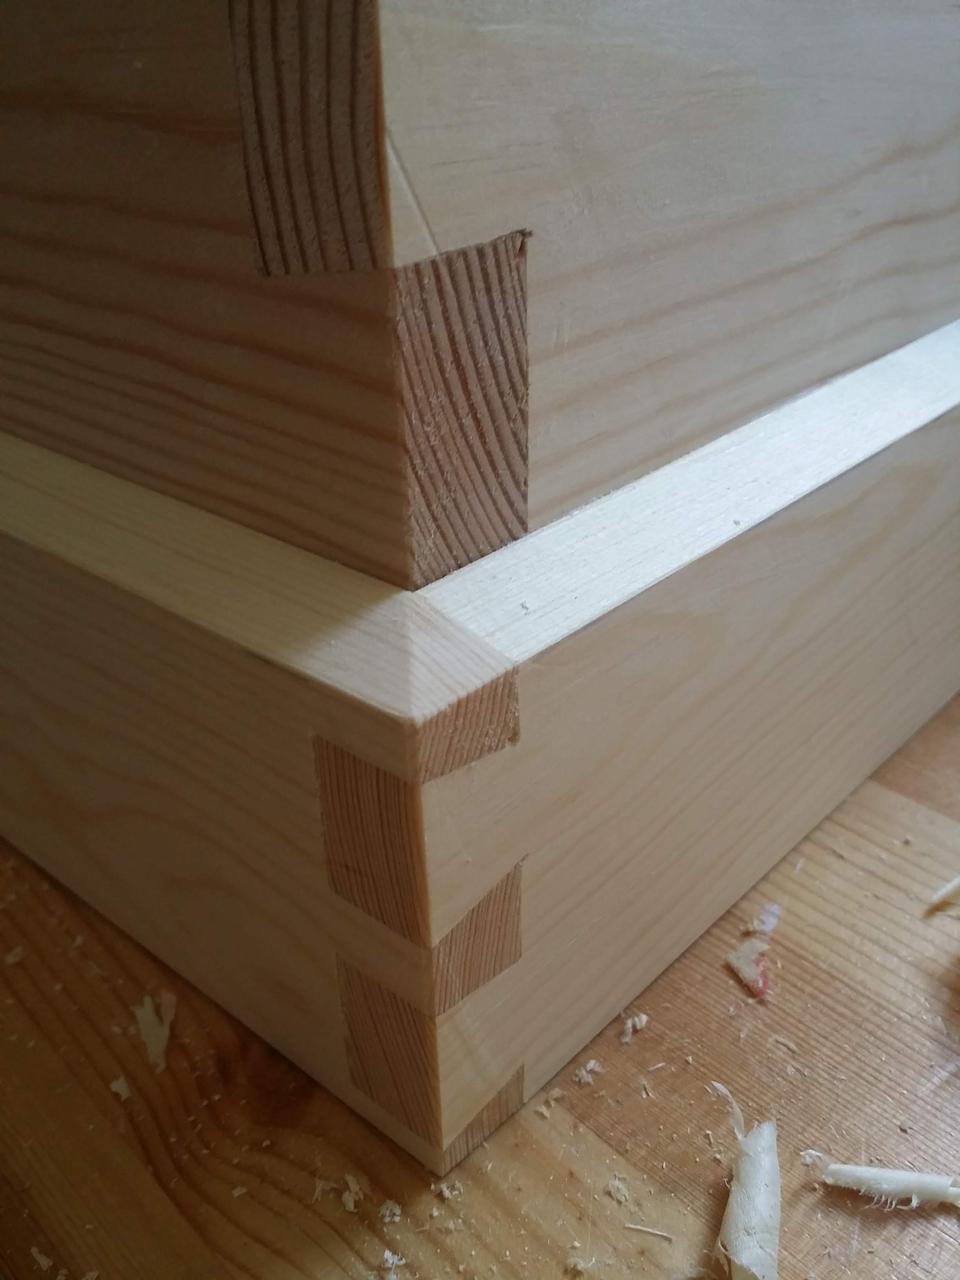
Fitting the base was fun, cutting the inside to be exactly the right length. You just have to be careful. There is quite a lot of back and forth. At this point I pretty much stopped measuring things and went of the box itself. Cut one set of dovetails, mark them as back right, then offer up the corner to the box and mark up for the next set.
After that was all assembled I posted a few pics online and some people commented that it would be a shame if the dovetails are all covered up. So I decided on a comprimise and taped them off. Painting the whole thing with milk paint. Then removing the masking to reveal the dovetails. Finally applying a coat of Osomo to seal it all up.
Next up was getting the lid together. My first thought was to use some oak or cherry to make a bit of a feature but in the end I decided to go for pine with a cover. At this point I just wanted to get it done and I figured I could work out what to do with the top at a later date.
Having made the top I was pondering on how to do the covering when I remembered that there was an upholsterer round the corner who did open days where you could bring what you like and she would teach you how to cover it.
So I booked a day with Jo Walton and set off with the lid under my arm.
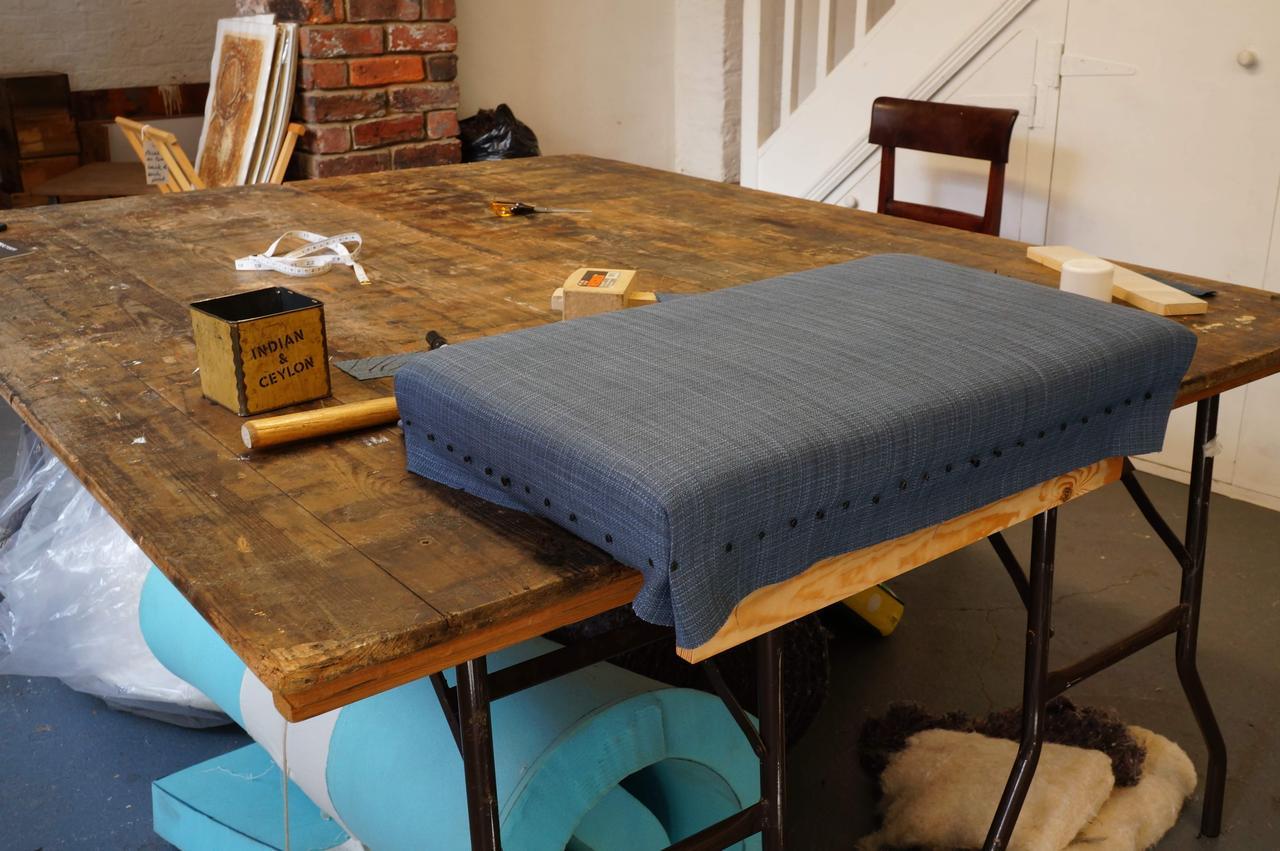
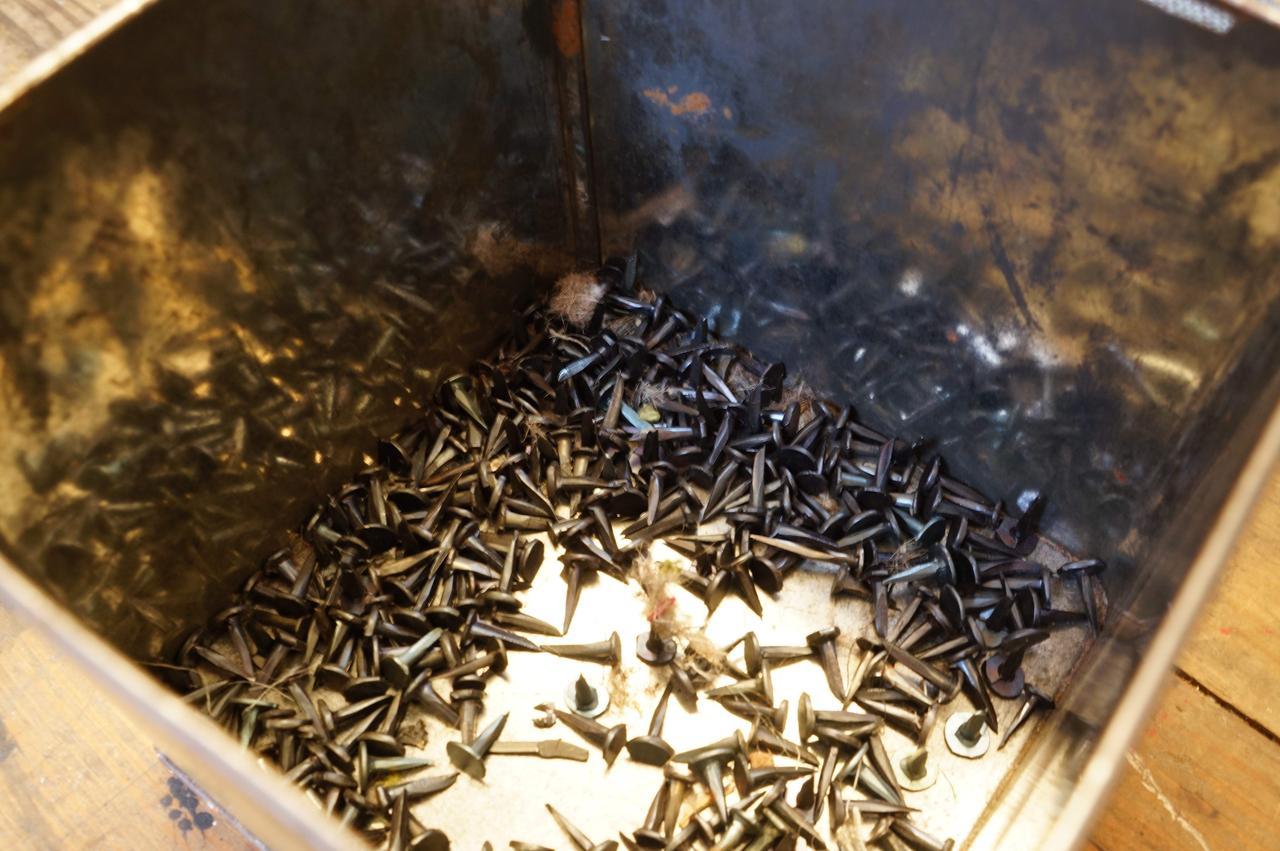
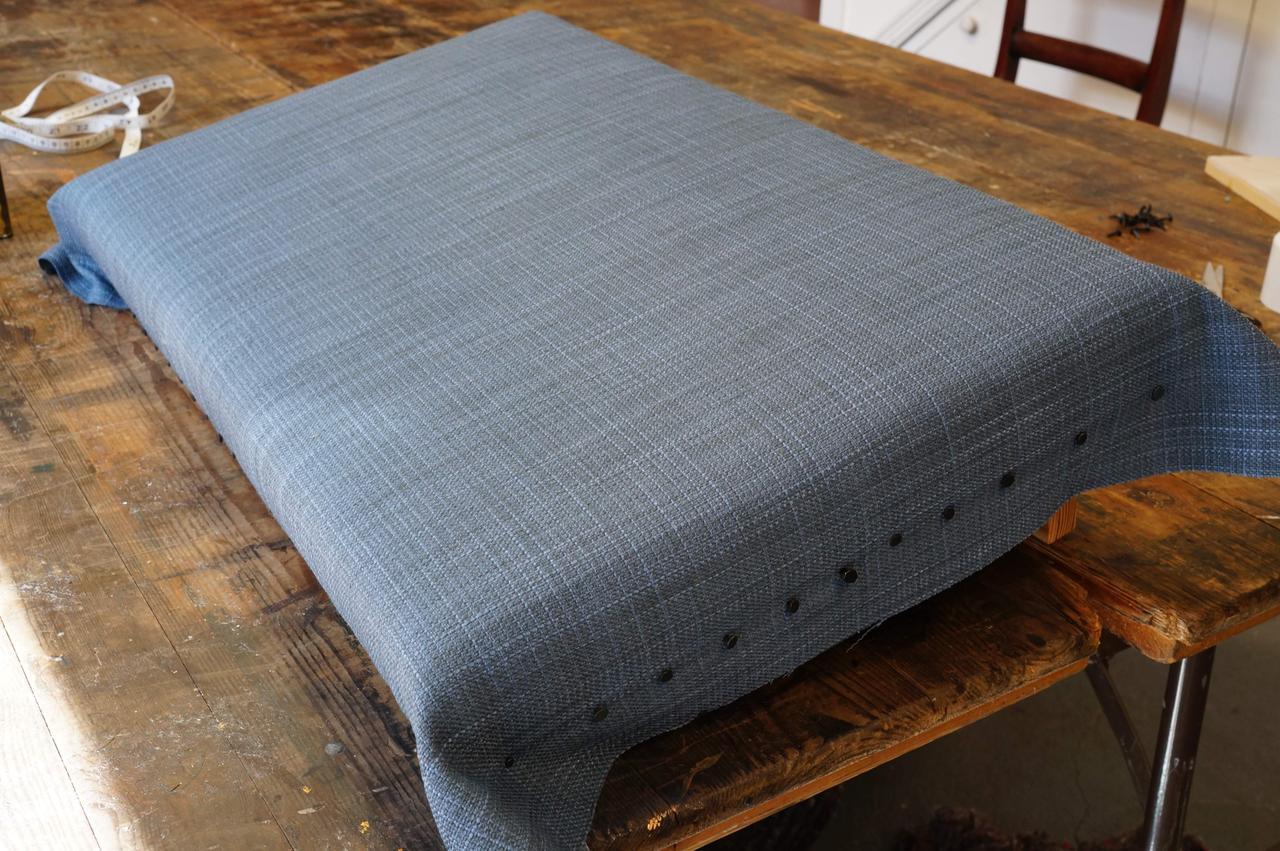
Jo has space in a small studio on FossGate, in York, and I spent a couple of great mornings there just working through adding the cover to the box. Jo showed me what I was supposed to be doing and provided all the right tools an materials. I set of cutting out the foam and padding then the material for the cover. Then started to add the nails to secure it down. All the time Jo was offering just the right amount of guidance and review. It was a really relaxing time as I find most hand crafts to be. I don't think I am going to be able to make a living at the rate I was going but I think it came out quite well. I will definitely be going back for other things as I make them.
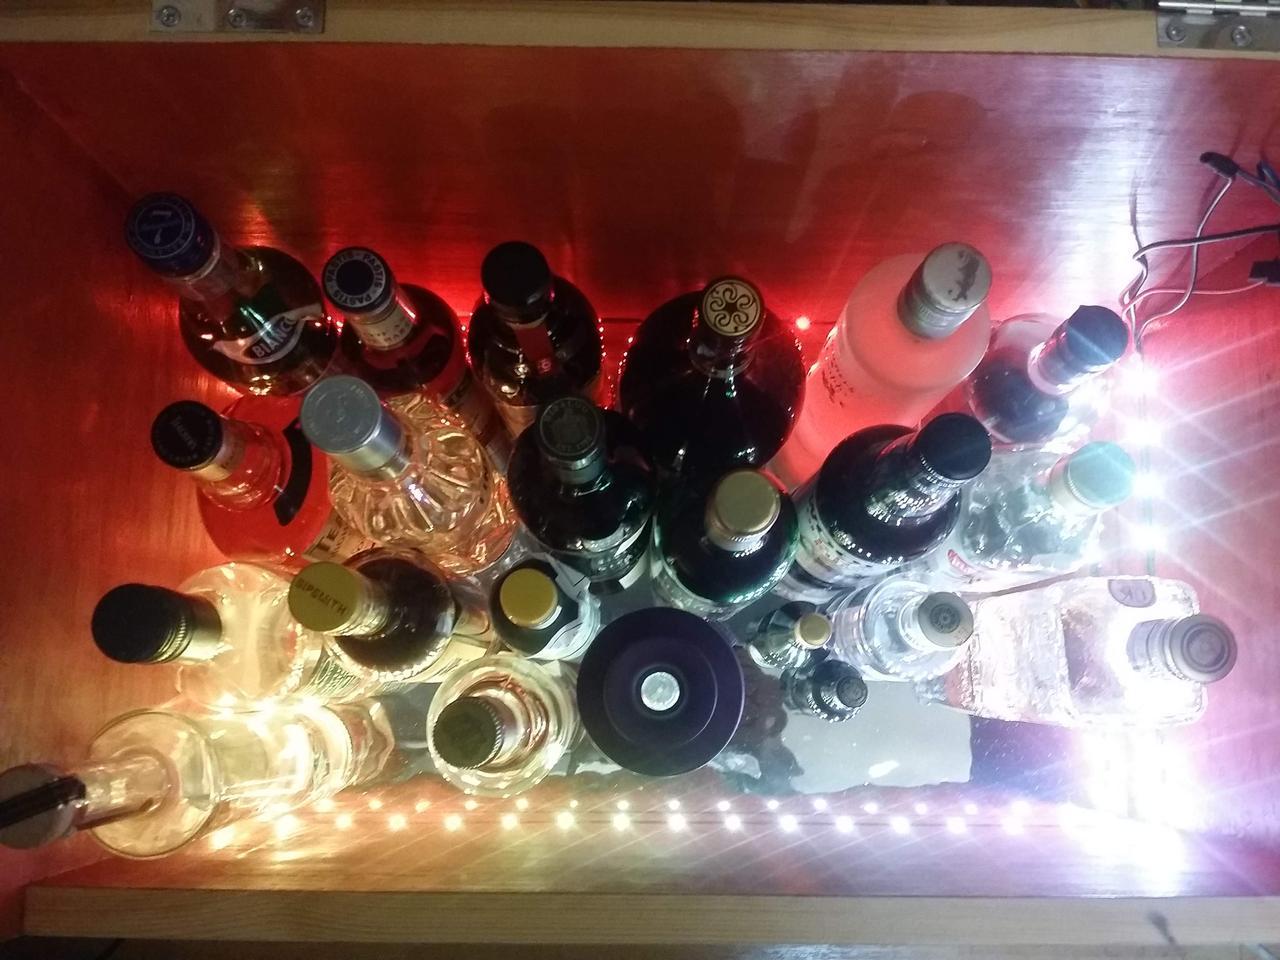
The last part was to add a little magic. This came in the form of some LEDs round the base and a silver liner on the bottom. Now when you open the lid it sparkles. I just used a USB powerbank and a microswitch on the lid. This then powers up a DigiSpark Attiny85 board. I may replace that at some point as it takes ages to start up.
A little strip of aluminium finished off the lid and it's all done.
More images over in the Gallery
Comments
Comments powered by Disqus