Evening classes and my new Hi-Fi stand
There will be an exhibition of my work in the York Explore Library this weekend ( 20-21 June 2015 ). Well technically it's not about my work but the York Adult Learning exhibition but hey, I have to start somewhere and I have one thing on show!

It started when I signed up of an evening class with York Council ( I think this is the website https://www.yortime.org.uk/ but I can't make it's search work ) it was called Furniture Design, Make or Restore. With Julian Marston.
Basically every Monday night I would cycle over to the school where it was held and get some woodwork done.
First day was a bit daunting as you would exact, everything new. I was late of course ( I may have stopped for some chips ). But did not miss much of the introduction. There seemed to be a few people who where regulars and had just started to get on with things and a few like myself who had no idea what it was all about. Julian gave us a quick tour round all the tools that we might want to use and then let us have a go on them. Band saw, pillar drill and belt sander. Then just left us to it. I was later to realise that was generally his style. If you needed help he would be there with advice and help but other than a chat now and again you where free to get on with things.
That first day I chatted with some of the people there wandered around a bit, and had some tea. Then went away with the puzzling question about what to make. It's not like I don't have enough things I want to do but this had to fit in ten weeks and be able to go back and forth on my bike each week. I pondered for a bit then chose to make a stand for my Hi-Fi. I have recently sold all my large Hi-Fi. Gone is the large surround amp, separate DAB radio and CD player and now I just have a small amp and a squeezebox. So I wanted a simpler stand that reflected that. My speakers have also shrunk but have matching stands that look rather neat so decided to mimic that in wood.
The design phase consisted of a couple of sheets of paper and a very rough sketch. Mostly I was going to wing it as I don't really know what I am doing. Measuring things up I headed out to the local timber merchant. I came back with a couple of planks of oak. This was going to be a fancy stand after all. For reference a couple of 2m oak planks is no problem on the bike.
A little bit of planning now had to happen as I wanted to glue the planks to make a sheet. So I did that at home. This process, as with most of mine at the moment, started with an hour watching YouTube. After realising that I needed an electric jointer, planer and table saw I managed to find some good videos showing what I was supposed to be doing. Paul Sellers and The English Woodworker where a great help as always.
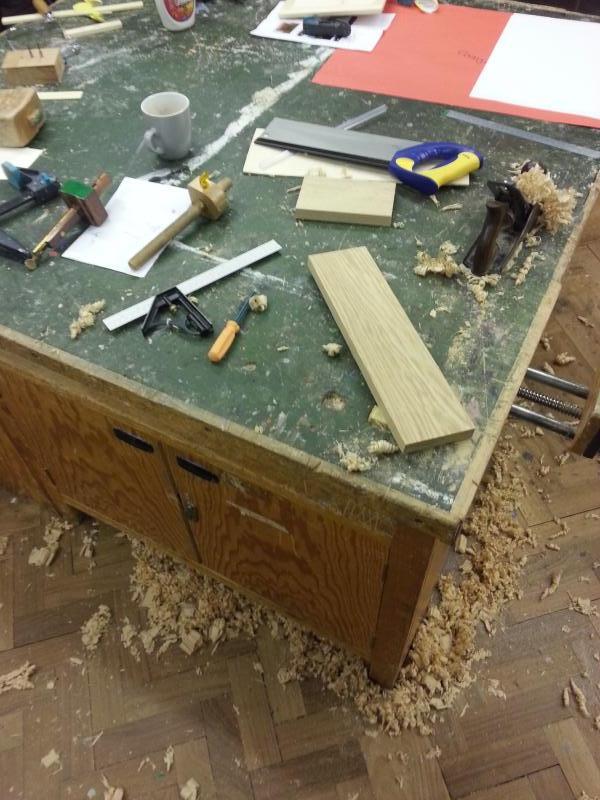
So I took my newly created sheets of wood to school and tried to plane them flat. I had not realised how good it was not to have to chase the workbench around the room as you plane. Even if these benches where a little on the low side. Planing went well and I am still surprised how smooth and neat it all looks with just a plane much better than an electric sander. The second sheet seemed a lot harder, no matter how I tried it just seem to either dig in or skim over. It was at that point that Julian popped over and causally mentioned that he had a sharpening stone if I needed it. How right he was! Just a couple of seconds on the stone and I was back in business. I let Julian show me how so I could pick up some more sharpening tips. I have some diamond stones at home and at the time was struggling to get things right with them so I guessed I would be no better with the oil stone.
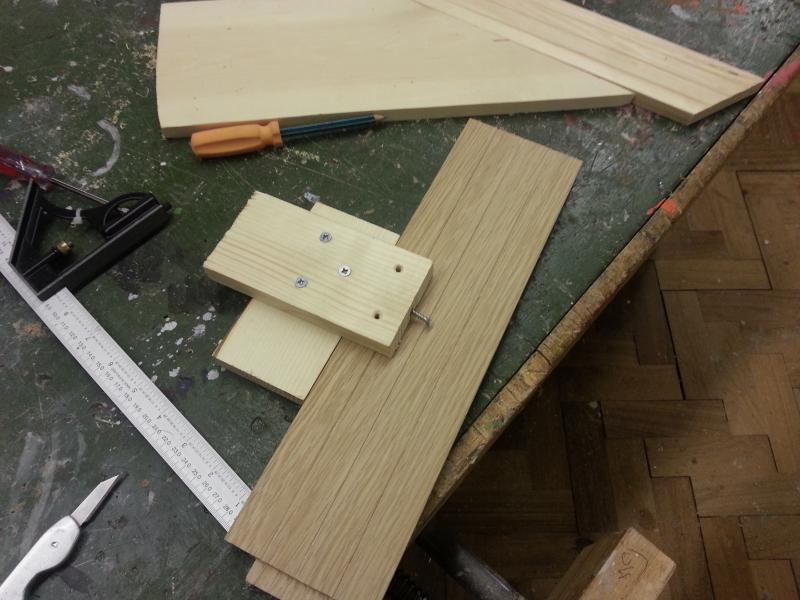
A scratch block is a really old style tool consisting of something metal jammed into a bit of wood. You then drag this down the side of your work piece and it scores a line in it. I made one from a screw with the edge filed off. It worked really well and was a lot less scary to used than a router. With this I scored the three lines down the front to reflect the same pattern in my speaker stands.
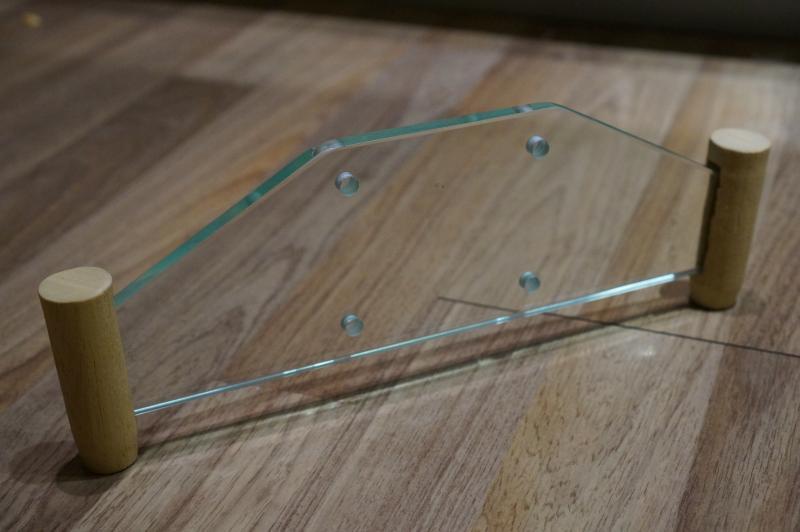
Next up was the glass. York Glass Supplies where really great. I took in my paper template, drawn up in FreeCAD, and they just cut it out and drilled the holes. Even smoothed over the edges nicely. There was a slight delay while they waited for the right sized drill bit to be delivered from Germany but other than that a really great service.
( Funny story about the York glass supplies website. Their ssl certificate shows as bad because it is only valid for manloveforensics.co.uk. I decided not to look any further into that )
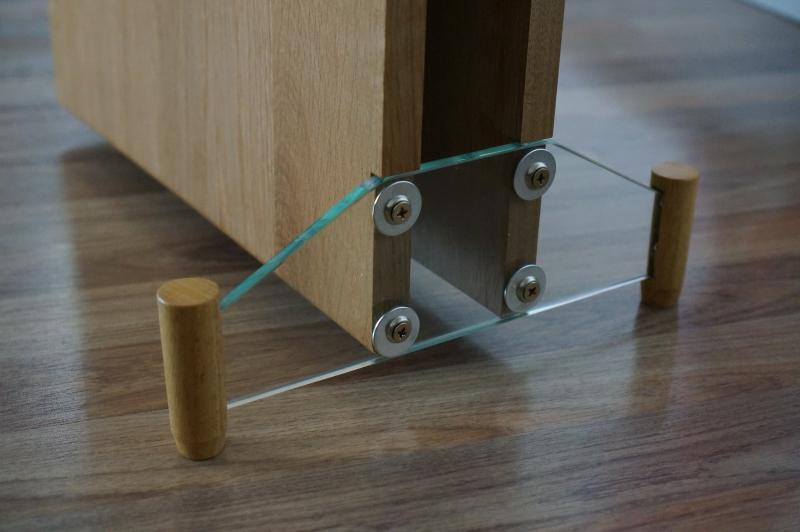
Next up I had a go on the lathe. What fun. Sawdust everywhere! I had a practice making a square block round then went ahead an made up the little feed to go on the end of the glass and the front.
Then there was the rounding of the edges. Marked up with pencil I went at it with the plane. First at 45 degrees then gradually smoothing that out. Then a little tidy up with a rhasp and things where starting to look tidy.
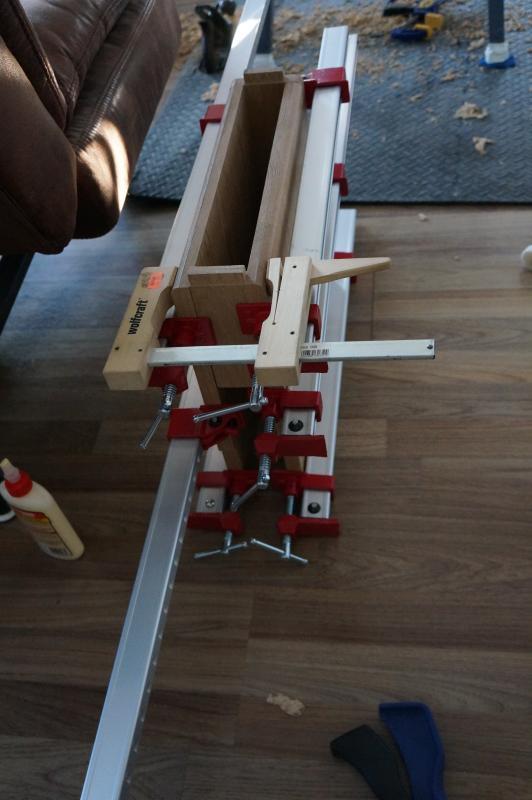
I had to do all my gluing up at home so that it would have time to dry before going on the bike. It worked out quite well as I had just treated myself to a load of clamps. We will see if it all holds together in the long run but I don't think there where many gaps which is the important thing.
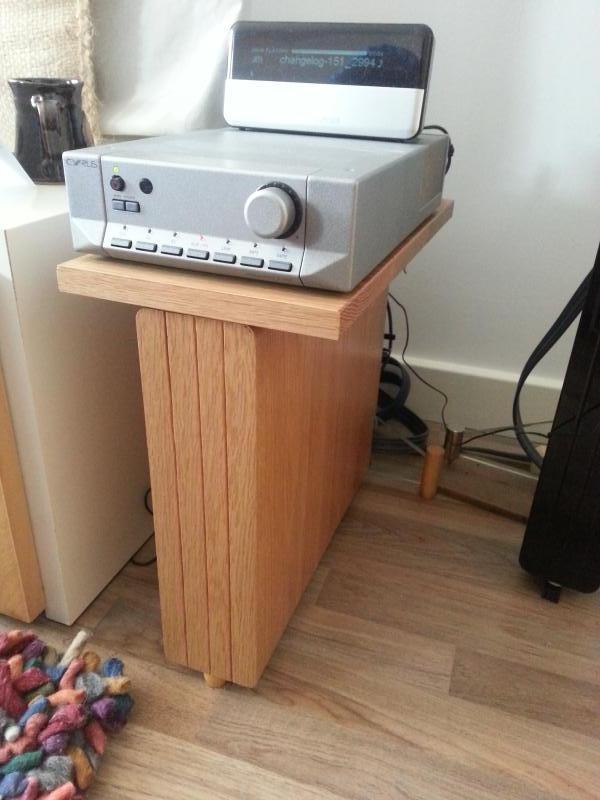
Once I had the mortice and tenon cut for the top it was time for the finish to go on. This was however after the end of the course so none of my workmates got to see the final showing. I used some Osmo oil partly because I like the mat finish and partly because it's really easy to apply with just a scouring cloth.
All done and in place. I am really please with how it turned out. I am sure I would do things a little differently next time round but I think it looks pretty neat.
Comments
Comments powered by Disqus